This article provides a detailed guide on safely removing fabric from a Schiffli embroidery machine, a specialized device used in industrial textile production for creating intricate embroidery patterns. The process involves powering down the machine, inspecting the embroidery, releasing tension, removing the fabric from the frame, handling stabilizers, trimming loose threads, cleaning the machine, and storing the fabric. Key precautions include handling delicate fabrics carefully, following machine-specific guidelines, and avoiding rushed actions to prevent damage. Troubleshooting tips address common issues such as stuck fabric or distorted embroidery. The guide emphasizes precision and care to preserve the embroidered design and maintain the machine’s functionality.
Introduction
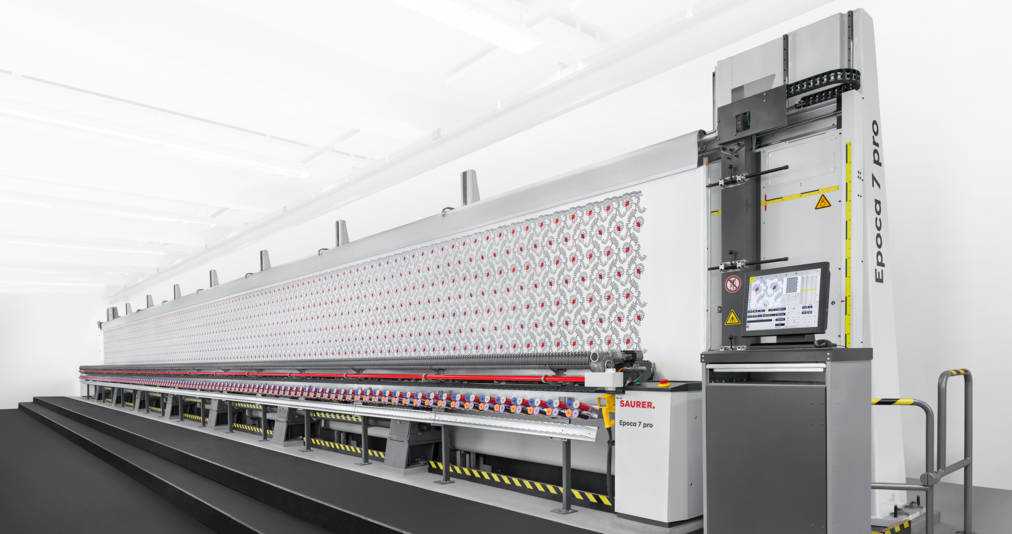
The Schiffli embroidery machine, a specialized piece of equipment used primarily in industrial textile production, employs a shuttle-based mechanism to create detailed embroidery patterns. The process of removing fabric from this machine requires precision and care to avoid damaging the fabric, the embroidered design, or the machine itself. This guide outlines the necessary steps, tools, and precautions to successfully remove fabric from a Schiffli embroidery machine.
Tools and Materials Needed
Before beginning the fabric removal process, gather the following tools and materials:
- Scissors or thread snips: For cutting loose threads or securing the fabric.
- Tweezers: To remove any small thread ends or debris.
- Cleaning cloth: To wipe down the machine and fabric area.
- Stabilizer removal tools (optional): For removing excess stabilizer material, if used.
- Safety gloves (optional): To protect hands from sharp components or tensioned fabric.
Step-by-Step Process for Removing Fabric
Step 1: Power Down the Machine
To ensure safety, turn off the Schiffli embroidery machine and disconnect it from the power source. This prevents accidental activation of the machine during fabric removal, which could lead to injury or damage to the fabric.
Step 2: Inspect the Embroidery
Examine the embroidered fabric while it is still secured in the machine frame or hoop. Check for any incomplete stitches, loose threads, or areas where the fabric may be caught. If any issues are detected, address them carefully before proceeding. For example, trim loose threads with scissors or thread snips to prevent pulling or tearing.
Step 3: Release the Tension
Schiffli machines typically hold fabric under tension within a large frame or hoop system. Gradually release the tension by loosening the clamps, screws, or other securing mechanisms, depending on the machine model. Ensure the fabric is not stretched excessively during this step, as sudden release of tension can distort the embroidery or tear delicate fabrics.
Step 4: Remove the Fabric from the Frame
Carefully unclamp or unhook the fabric from the frame or hoop. Start from one side and work systematically to avoid pulling or stretching the fabric. If the fabric is pinned or clamped tightly, use gentle force to disengage it. For large pieces of fabric, it may be helpful to have an assistant to support the material as it is removed to prevent it from sagging or creasing.
Step 5: Remove Excess Stabilizer (If Applicable)
If a stabilizer (such as tear-away or cut-away backing) was used to support the fabric during embroidery, carefully remove it. For tear-away stabilizers, gently tear the material away from the embroidered area, taking care not to stress the stitches. For cut-away stabilizers, use scissors or a stabilizer removal tool to trim excess material, leaving a small margin around the embroidery to maintain stability.
Step 6: Trim Loose Threads
Inspect the embroidered fabric for any loose or uncut threads on both the front and back. Use scissors or thread snips to carefully trim these threads, ensuring not to cut into the fabric or the embroidered design. Tweezers can be useful for removing small thread ends or debris.
Step 7: Clean the Machine
After removing the fabric, inspect the machine’s embroidery area for any thread remnants, dust, or debris. Use a cleaning cloth to gently wipe down the frame, needles, and other accessible components. This step helps maintain the machine’s performance and prevents contaminants from affecting future projects.
Step 8: Store or Process the Fabric
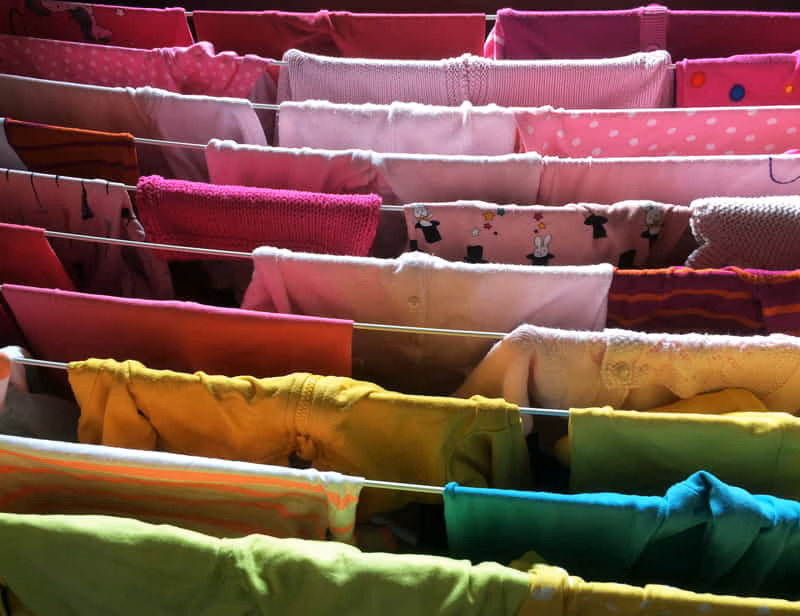
Once the fabric is removed and cleaned, fold or roll it carefully to avoid creasing the embroidered area. If the fabric requires further processing (e.g., washing, pressing, or additional embellishments), follow the appropriate care instructions for the fabric type and embroidery design.
Precautions and Best Practices
- Handle delicate fabrics with care: Fabrics such as silk, chiffon, or lace are prone to tearing or stretching. Use minimal force and consider wearing gloves to avoid snagging.
- Check machine-specific guidelines: Different Schiffli machine models may have unique frame or tensioning systems. Refer to the manufacturer’s manual for specific instructions.
- Avoid rushing: Hastily removing fabric can lead to damage or distortion of the embroidery. Take time to perform each step methodically.
- Maintain the machine: Regular cleaning and maintenance of the Schiffli machine after fabric removal will prolong its lifespan and ensure consistent performance.
Troubleshooting Common Issues
- Fabric stuck in the frame: If the fabric is difficult to remove, check for caught threads or overly tight clamps. Gently wiggle the fabric while loosening the frame to free it.
- Distorted embroidery: If the design appears stretched or distorted after removal, it may be due to excessive tension or improper handling. Ensure proper tension settings during embroidery and handle the fabric gently during removal.
- Torn stabilizer residue: If stabilizer material is difficult to remove, lightly dampen the area (if the fabric allows) to soften the stabilizer before tearing or cutting it away.
Conclusion
Removing fabric from a Schiffli embroidery machine is a straightforward but delicate process that requires attention to detail and adherence to proper techniques. By following the steps outlined in this guide—powering down the machine, releasing tension, carefully removing the fabric, and cleaning up afterward—you can ensure the embroidered fabric remains intact and the machine is ready for future use. Proper handling not only preserves the quality of the embroidery but also contributes to the longevity and efficiency of the Schiffli machine.
For further details on operating your specific Schiffli embroidery machine, consult the manufacturer’s documentation or contact a professional technician for assistance.